For Suzy's birthday present, I was to oversee the construction of a waterfall in our back
yard. In a rare feat of non-micromanagement, this happened from late June through mid
July, and I did not lift a shovel, place a rock, or get damp, let alone wet. The reason
is that Garrett Karnowski threw himself into the task, and did everything. And I mean
everything. This is why we named it G-Force Falls, in honor of Garrett.
I told Garrett I'd advertise him with the falls -- if you're in the greater Knoxville
area and want to hire Garrett to build you a waterfall, his email is:
If you're planning to build a waterfall, this web page may prove helpful -- I'll include
the parts list for you:
- 010935
- Thumbnail
- Bigger Picture
- Description:
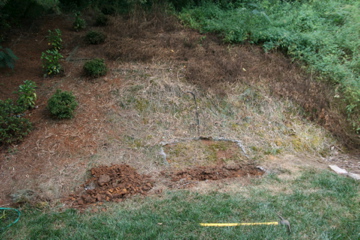
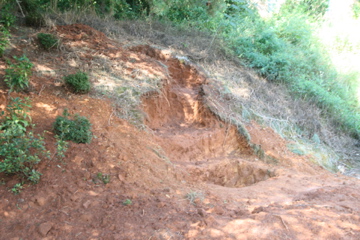
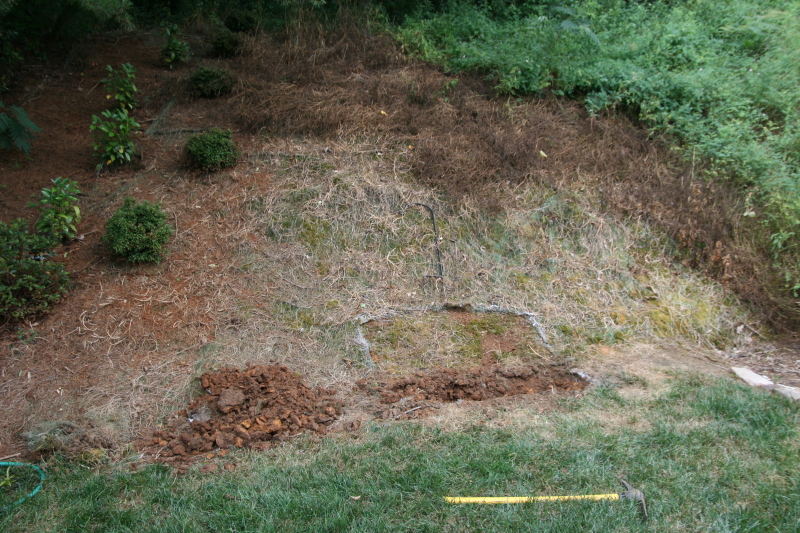
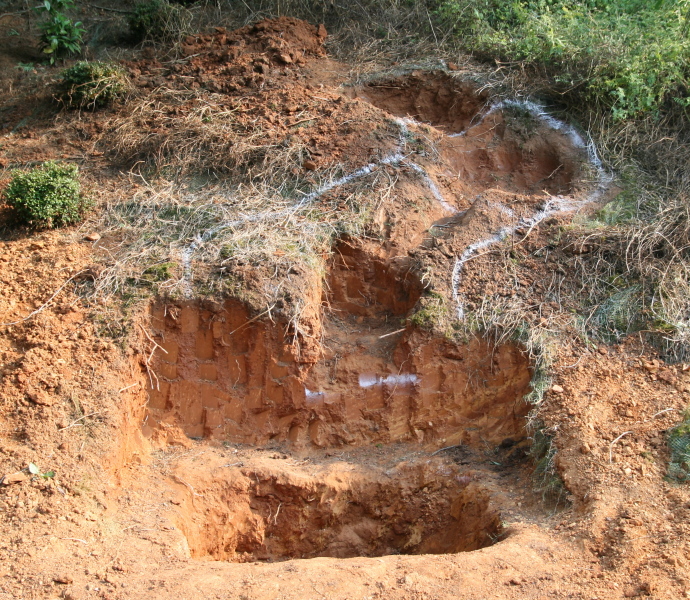
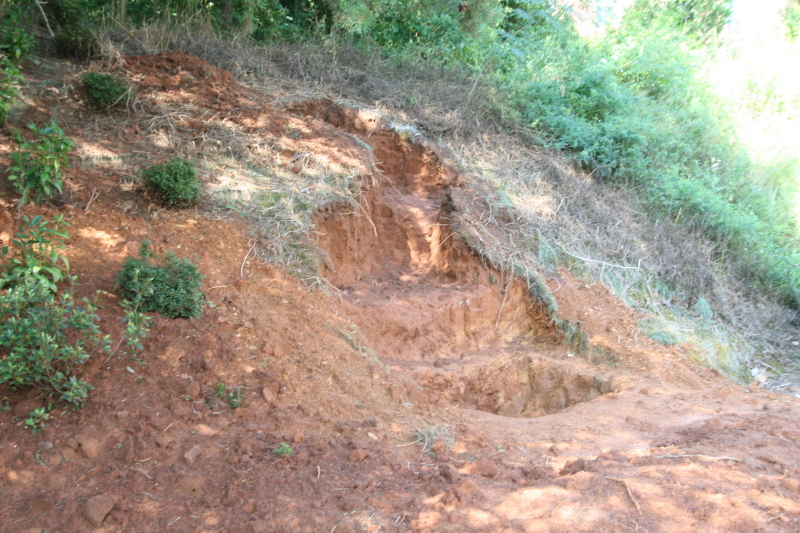
June 30. The space is cleared, and our idea is to build a pondless waterfall here. The
basic idea is three tiers, each with their own mini-falls. I had originally thought the
entire height would be 5 to 6 feet above the base level.
|

- 010936
- Thumbnail
- Bigger Picture
- Description:
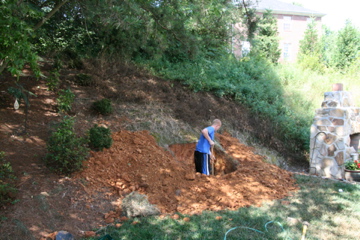
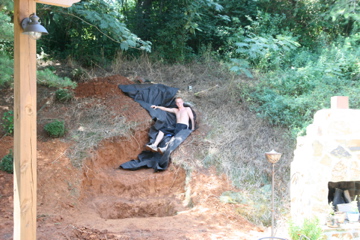
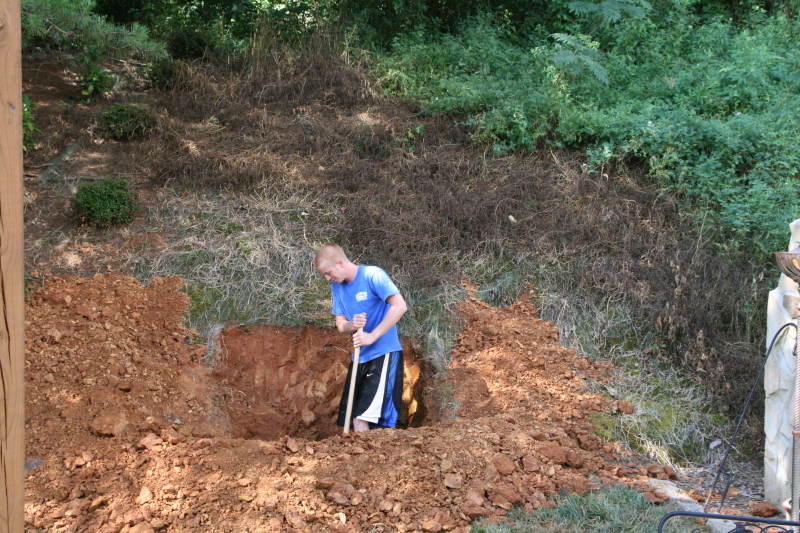
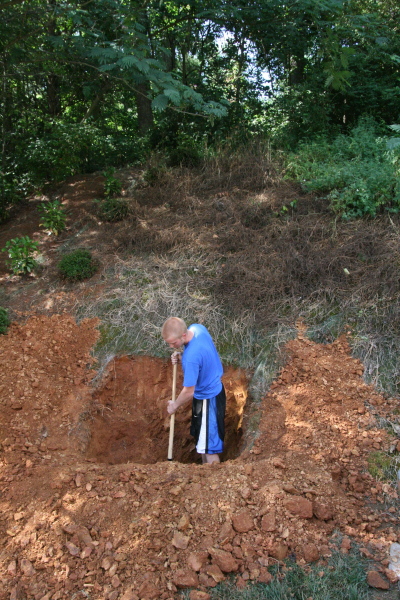
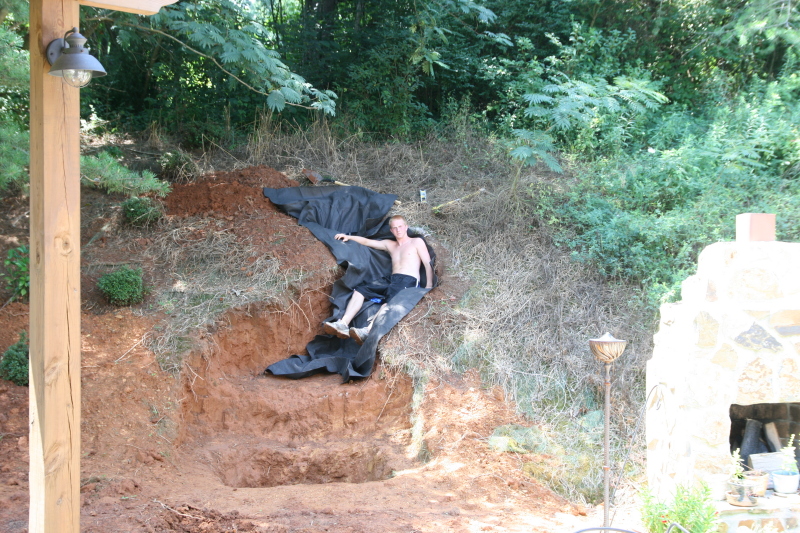
July 1.
A "pondless" waterfall is one with a pond that you fill in with large gravel (4"). A
hard plastic "waterfall well" holds the pump and protects it from the gravel. The dimensions
of the pond were to be four feet wide, three feet from front to back, and at least two
feet deep. Garrett digs.
|

|
|

|
|

|
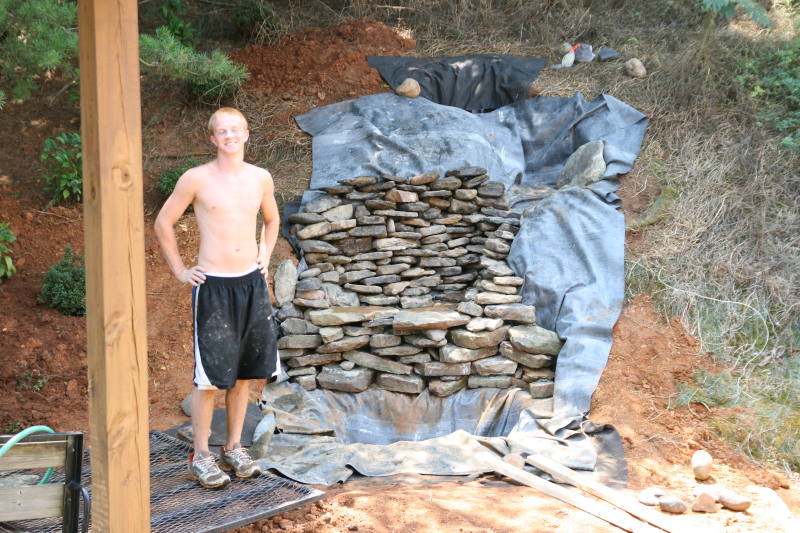
- Garrett
- Thumbnail
- Bigger Picture
- Description:
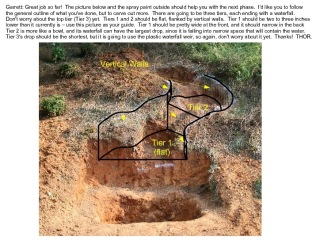
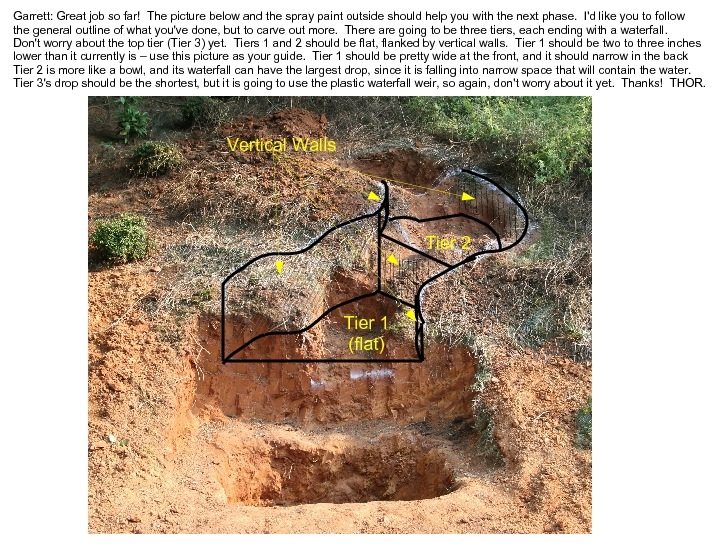
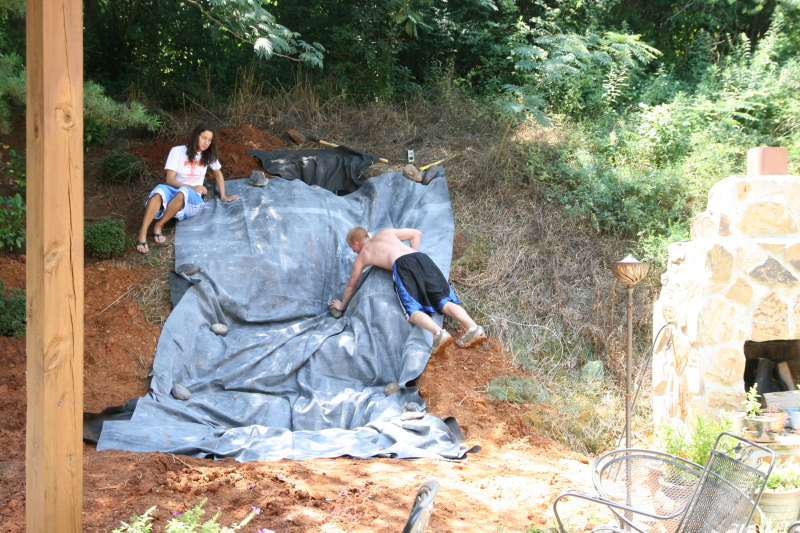
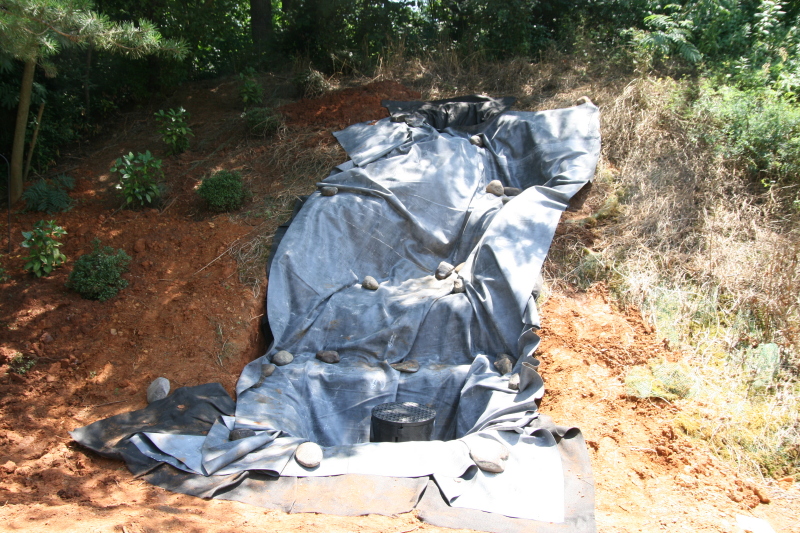
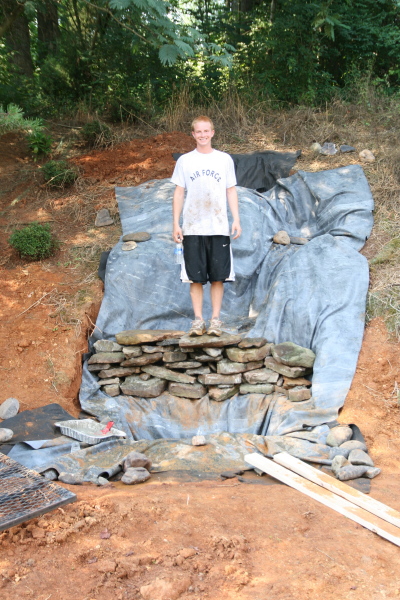
At this point, we had to leave town for a week, so here are the instructions I wrote to
Garrett -- the tiers needed to be wider and more sharply defined, so that we could build
rock walls from one tier to the next.
|

|
|
|

|

|

|

- 010948
- Thumbnail
- Bigger Picture
- Description:
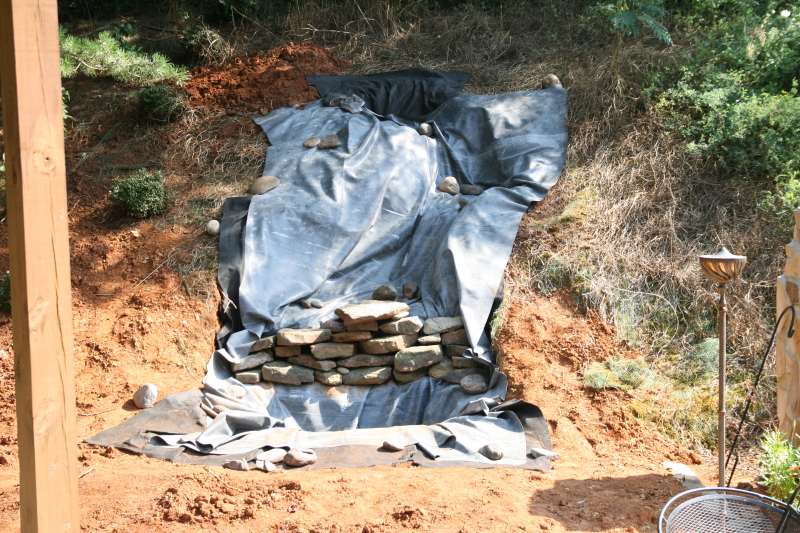
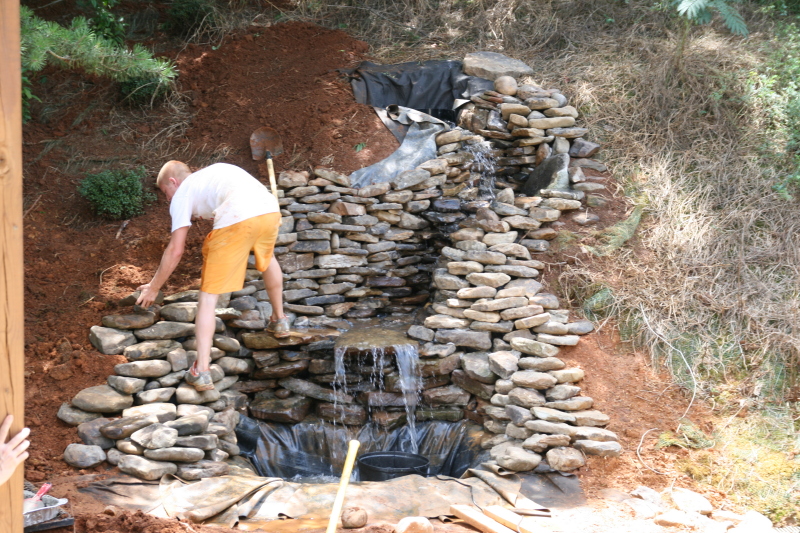
July 16. Garrett starts on the wall. At this point, we decided we had to use
concrete to keep the wall strong. Garrett mixed small batches in a foil roasting
pan. As was recommended, he kept the rocks wet while putting the mortar into place.
|

- 010949
- Thumbnail
- Bigger Picture
- Description:
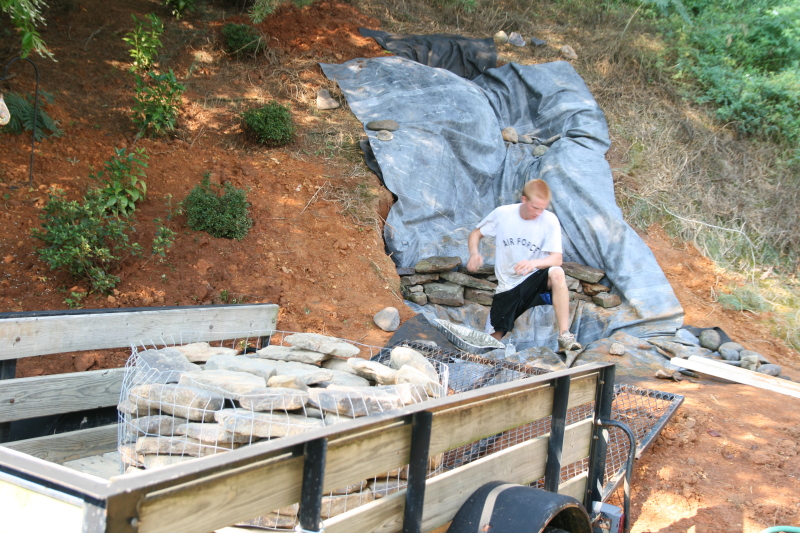
July 17. We also needed more rocks. Here's one of our "baskets" from the Rock Yard.
|

|

- 010951
- Thumbnail
- Bigger Picture
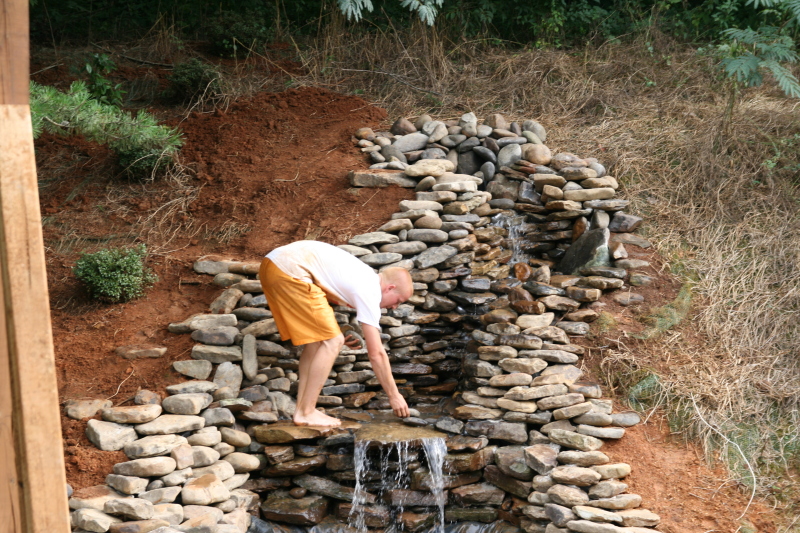
- Description:
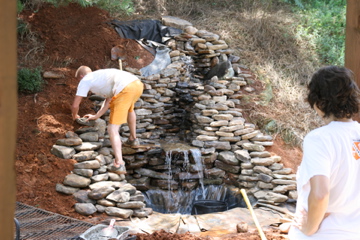
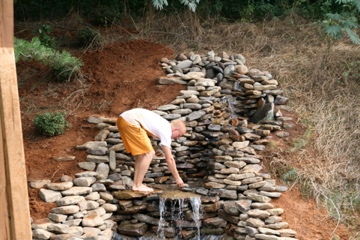
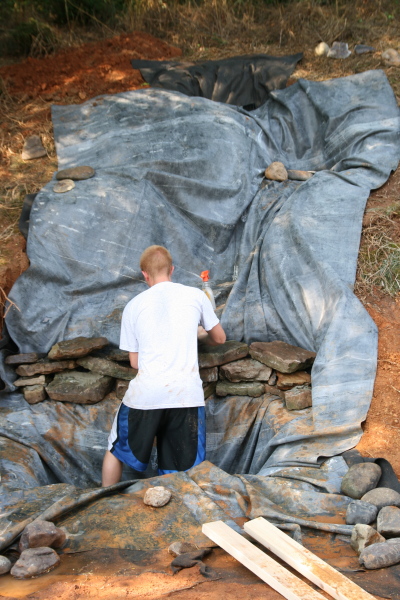
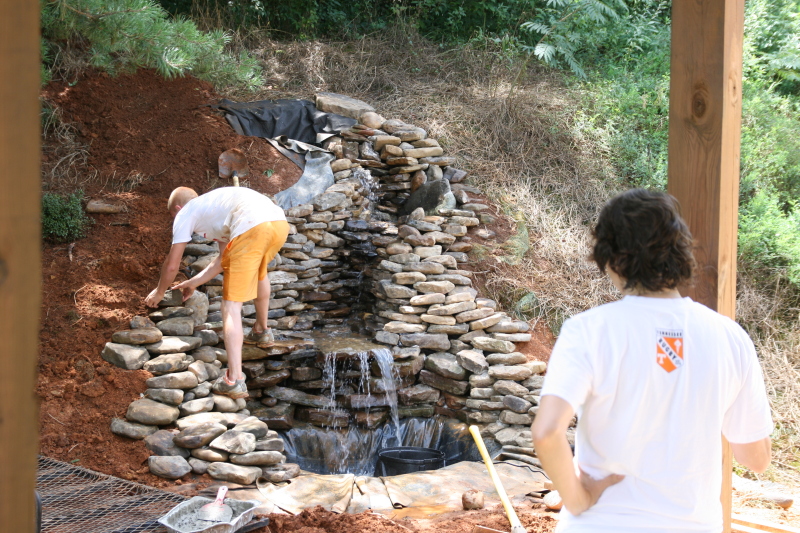
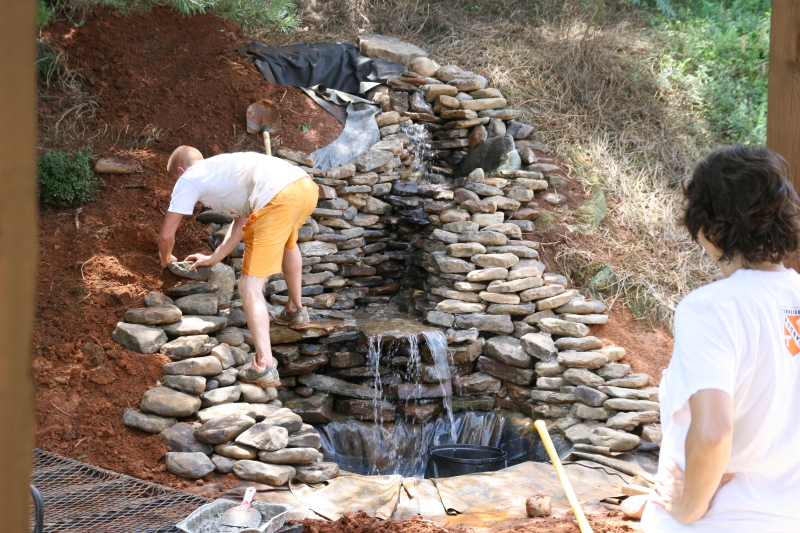
Garrett with the wall leading to tier 1. We are a little concerned with the lack of
liner on the left side, since we don't want water loss. It is decided that we'll try to
divert the main waterfall toward the right side.
|

|

- 010953
- Thumbnail
- Bigger Picture
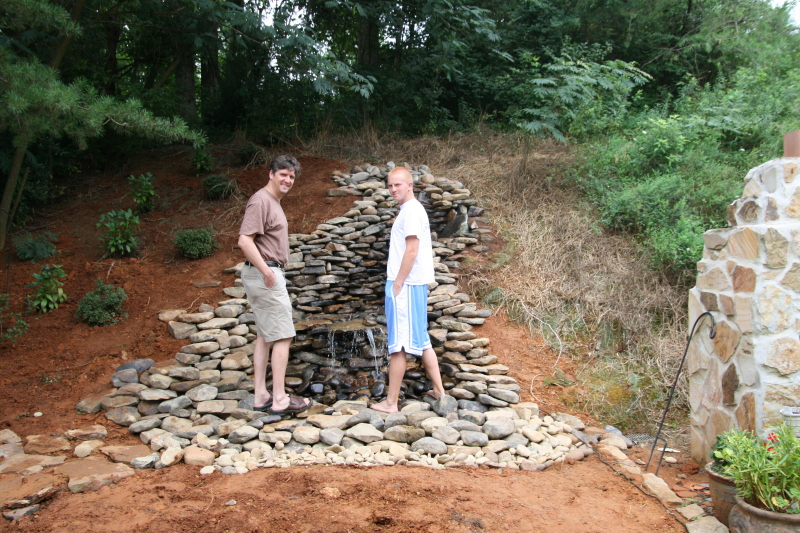
- Description:
July 24. We had ordered the PVC pipe on the Internet and it took a while to arrive.
We had also tried a 2300 GPH pump, but it wasn't strong enough -- our "head" (vertical
span from the bottom of the pump to the top of the falls) was about 10 feet, so we had
to get a stronger pump. Here we're testing, and it's looking good!
|

- 010954
- Thumbnail
- Bigger Picture
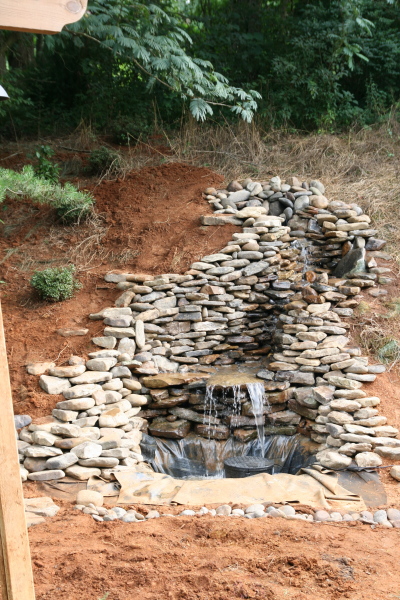
- Description:
Suzy inspects her waterfall. Garrett has used quite a bit of spray foam to make the
water flow right. We were especially concerned with water going under the rocks and not
over. I'm guessing that we could have used a third can of foam, but the store was out.
|
|

- 010956
- Thumbnail
- Bigger Picture
- Description:
Almost finished! You'll note that Garrett has rigged a drainage ditch to our yard's drain
(to the right, out of the picture).
|
|

|

- 010959
- Thumbnail
- Bigger Picture
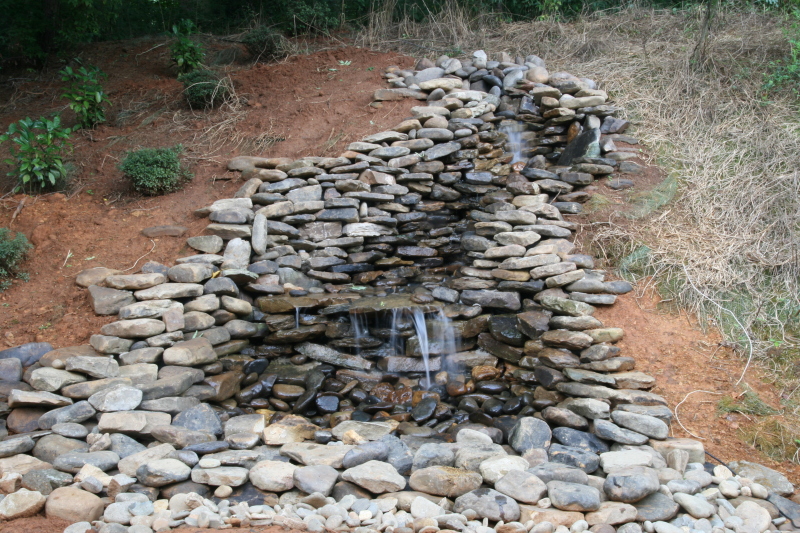
- Description:
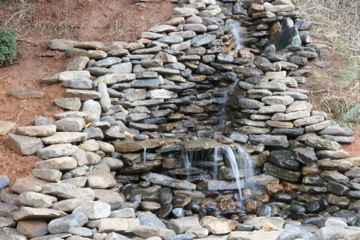
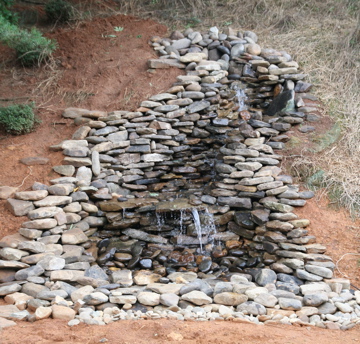
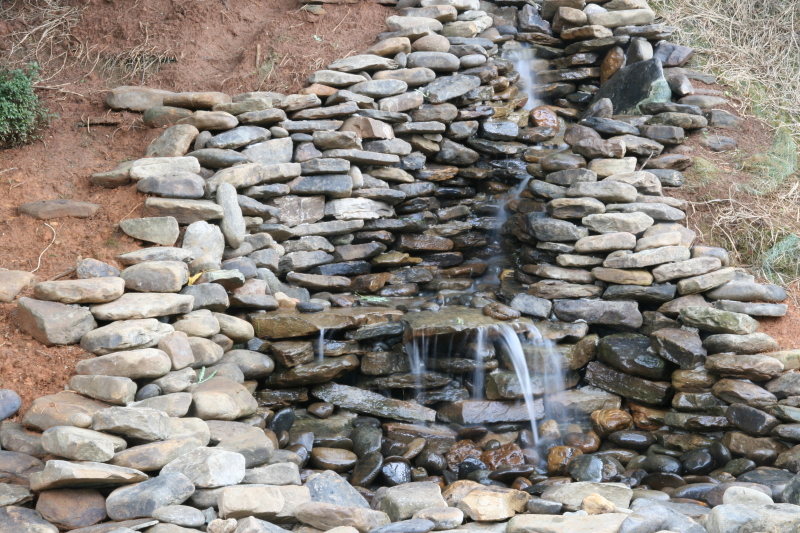
A week later -- these pictures were taken on August 2. The waterfall has been churning
constantly, and we love it! Yes, we'll have to do some landscaping, but that's Suzy's job....
|
- 010960
- Thumbnail
- Bigger Picture
- Description:
A closer picture (taken with a one second exposure to make the falls more pretty).
|
|
