Tkinter (Graphical User Interface)
Tkinter is a graphical toolkit that allows the programmer to draw to a graphical screen instead of the old text-based console.
Imports
Tkinter is included in most Python distributions, including repl.it.
To use tkinter, use the following
import tkinter as tk

root = tk.Tk()
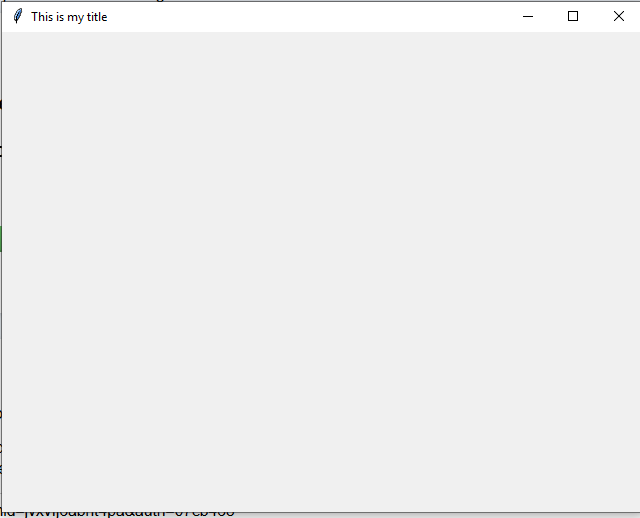
The root is a blank screen, which you can resize and change the title by using the following:
# The .geometry() function takes a string which is a geometry argument width x height (no spaces)
root.geometry("640x480")
# Now the window will be resized, change the title to "This is my title"
root.title("This is my title")
You should see the following:
Drawing on a Canvas
You can't do much with a root window since there is no drawable surface. There are several "widgets" we can make, such as buttons, text boxes, etc, but to get straight to drawing, we use a canvas. A canvas can be created by using the following
# Create a new canvas based on the root window that is 640 pixels wide by 800 pixels high
canvas = tk.Canvas(root, width=640, height=800)
# The .pack() is only necessary to resize the root window to the exact size of the canvas.
# It is better to use canvas.pack() than root.geometry()
canvas.pack()
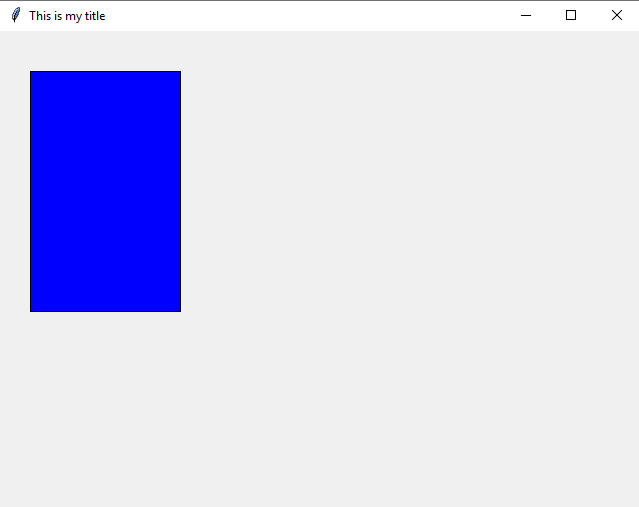
The canvas is where we can draw lines, rectangles, ovals, etc. by using the create_* suite of functions. For example,
# This creates a rectangle whose top-left corner is at x,y = 30, 40 and whose bottom-right corner is x,y = 180, 280.
# The fill is whatever you want the color to be inside of the rectangle.
# The "tags" is a name we can refer to this rectangle by in case we want to delete it.
canvas.create_rectangle(30, 40, 180, 280, fill="blue", tags="bluerect")
The code should create a blue rectangle that looks like the following:
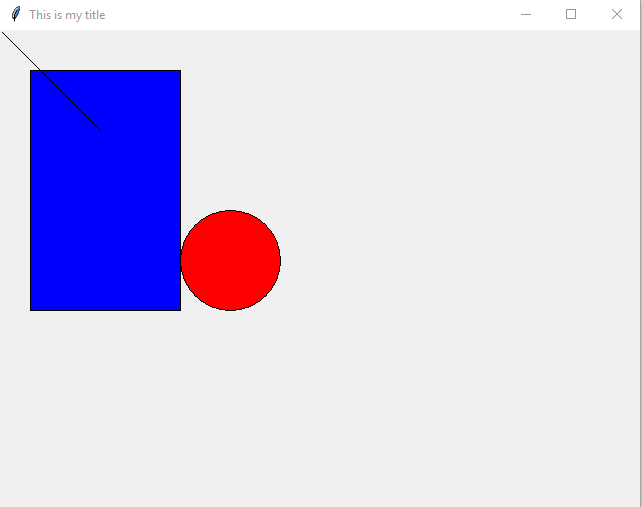
We can stack a bunch of these objects on top of each other, including ovals (which also makes circles):
# Create a straight line from x1,y1 = 0,0 to x2,y2 = 100,100
canvas.create_line(0, 0, 100, 100, tags="straightline")
# Draw a circle (an oval with equal width and heights). Remember the 180 is x1, the second 180 is y1, the 280 is x2, and the second 280 is y2
canvas.create_oval(180, 180, 280, 280, fill="red", tags="theoval")
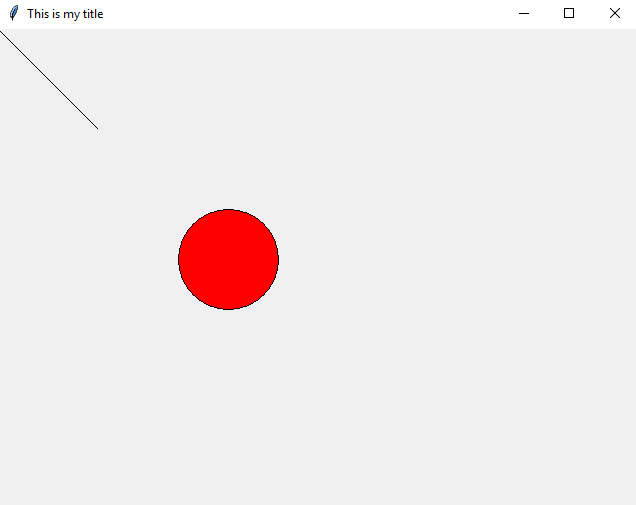
You can then remove objects by using delete() and provide the tagged name. If you specify delete("all") all objects will be removed from the screen.
canvas.delete("bluerect")
Finally, you can draw text onto the Canvas by using create_text:
# The font is specified by a tuple which is (name, size). In the following case, we're drawing text
# using the Courier font, 24 point. The fill is the color of the text we want printed.
# NOTICE: create_text's x,y coordinates are the very CENTER of the text!
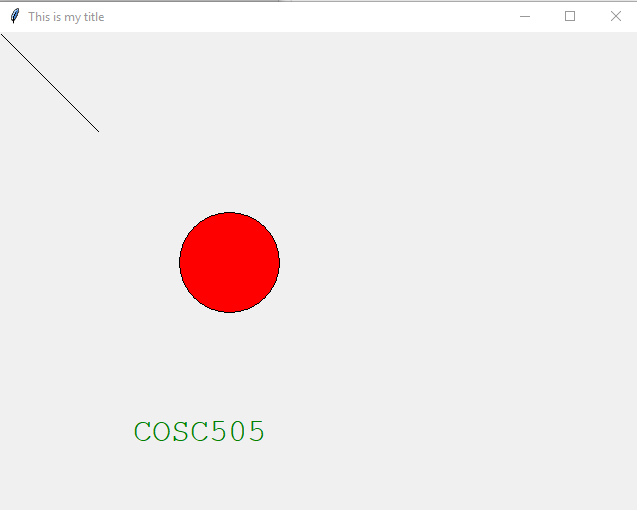
canvas.create_text(200, 400, font=("Courier", 24), fill="green", text="COSC505", tags="mytext", anchor="center")
You can set what the coordinates specify based on the anchor parameter. By default, text is center, but it can be specified in a cardinal direction, such as n,nw,s,sw,ne,se,e,w. These must be specified using lower case.
The code above will produce the following:
Handling Events
Drawing to the canvas is one thing, however it might be nice to be able to handle "events", such as the user clicking the mouse on your screen. To do this, you need to "listen" for an event, such as a keyboard input or mouse click, and specify a Python function that will be called when that event occurs. The function is called a "callback".
You will use the .bind() function to bind an event to a specific callback that you'll write. The event names are a bit esoteric, so they will be provided on all labs, but they can be found in the tkinter reference manual.
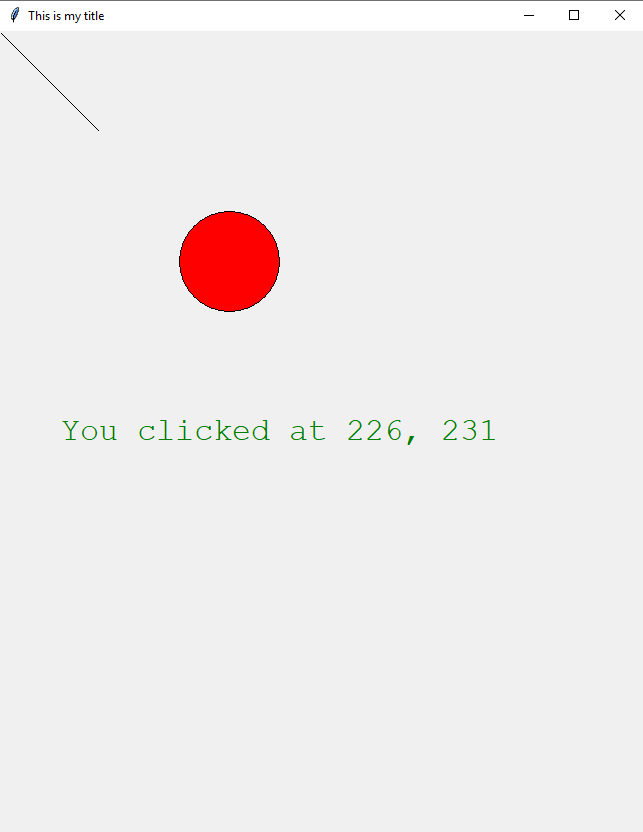
# The clicked callback takes an event parameter, which contains the .x and .y parameter for the pixel location where the mouse was clicked.
# The upper-left hand part of the screen is 0, 0 and the lower-right hand part of the screen is width, height.
def clicked(event):
    canvas.delete("mytext")
    mystring = "You clicked at " + str(event.x) + ", " + str(event.y)
    canvas.create_text(280, 400, font=("Courier", 24), fill="green", text=mystring, tags="mytext")

# Bind the mouse button #1 to the clicked callback, defined above
canvas.bind("<Button-1>", clicked)

# Let TK handle events. After we run mainloop, the only way to run code is to handle events!
tk.mainloop()
Before events can be handled, mainloop() must be called. However, after you call this, Tkinter will take over. The only way to draw more objects is within a callback. For example, the code after tk.mainloop() below never executes unless the window is closed or root.quit() is called:
# The clicked callback takes an event parameter, which contains the .x and .y parameter for the pixel location where the mouse was clicked.
# The upper-left hand part of the screen is 0, 0 and the lower-right hand part of the screen is width, height.
def clicked(event):
    canvas.delete("mytext")
    mystring = "You clicked at " + str(event.x) + ", " + str(event.y)
    canvas.create_text(280, 400, font=("Courier", 24), fill="green", text=mystring, tags="mytext")

def double_clicked(event):
    # root.quit() will return from tk.mainloop() and run the sequence of commands afterward.
    root.quit()

# Bind the mouse button #1 to the clicked callback, defined above
canvas.bind("<Button-1>", clicked)
canvas.bind("<Double-1>", double_clicked)

# Let TK handle events. After we run mainloop, the only way to run code is to handle events!
tk.mainloop()
# The following commands will only execute AFTER TK closes. This most likely will cause
# a _tkinter.TclError since the Canvas was destroyed by closing
# the window
canvas.create_rectangle(0, 0, 400, 400, fill="blue")
canvas.create_text(200, 200, text="Howdy", fill="white")
If you execute the code above and click somewhere near the center of the circle, you should see something close to the following (your x,y should be close but might not match exactly):
Events
The following events have the given description:
| Event | Description |
|---|---|
| <Button-1> | When the left mouse button is pressed |
| <Button-2> | When the middle mouse button is pressed (or wheel is pressed) |
| <Button-3> | When the right mouse button is pressed |
| <Button-4> | When the wheel is moved up |
| <Button-5> | When the wheel is moved down |
| <Double-x> | When the x ∈ (1,2,3,4,5) mouse button is double clicked |
| <Motion> | When the mouse moves (with or without a button pressed) |
| <B1-Motion> | When the mouse moves with left button pressed |
| <Return> | When the Return/Enter key is pressed on the keyboard |
| <Key> | User pressed any key on the keyboard. The event object contains the actual key pressed |
| a, b, c, A, B, C | When the user types a, b, c, A, B, C. This can be used for most printable characters |
| <ButtonRelease> | A given mouse button was released (after being pressed) |
There are many more, but this should be enough for this course.
Examples
Use mouse events to draw rectangles with random colors on the screen:
import tkinter as tk
import random

# Specify a list of colors our rectangles can be
colors = ["red", "green", "blue", "cyan", "orange", "magenta", "black"]

# Create the root, give it a title, and then link it to a Canvas
root = tk.Tk()
root.title("This is my title")
canvas = tk.Canvas(root, width=640, height=800)
canvas.pack()

# The callback for mouse motion with<Button 1>pressed. Only draw to the screen if button 1 is pressed.
def mouse_draw(event):
    color = colors[random.randint(0, len(colors)-1)]
    upper_left = (event.x - 5, event.y - 5)
    bottom_right = (event.x + 5, event.y + 5)
    canvas.create_rectangle(upper_left[0], upper_left[1], bottom_right[0], bottom_right[1], fill=color)

# Quit event when the user double clicks the Canvas
def quit(event):
    root.quit()

canvas.bind("<B1-Motion>", mouse_draw)
canvas.bind("<Double-1>", quit)

# Start the mainloop so that tk can handle events
tk.mainloop()

# We get here after root.quit(), but nothing is to be done, so just exit.
The code above produces the following (try clicking and dragging your mouse):

References
https://docs.python.org/3.7/library/tkinter.html
Stephen Marz (20190604)